Microcontrollers
At the heart of your robot, and what you will spend much of the week programming, is an Atmega 328 microcontroller. A microcontroller is like a entire computer on a single microchip. It has storage, a processor, and memory, much like any other computer does.
Microcontrollers are designed primarily to be embedded in other devices. Many devices that you are familiar with have some type of microcontroller driving them.
There are actually two microcontrollers on the Bot’n Roll One. The second is a PIC18F45K22. On the Bot’n’Roll, this comes pre-loaded with all of the software that we want on it.
Arduino
- Open external links in new tabs if you go to them for extra reading. You'll want to get back to the tutorial quickly.
- You can do this by right-clicking the link and selecting "Open link in new tab" from the menu that pops up.
Arduino is an open-source electronics platform designed around Atmega microcontrollers. You can find more information on Arduinos “Here”
Arduinos makes the previously very difficult-to-enter world of microcontrollers accessible to programmers who already know how to program in C++.
Part of this is by standardizing how pieces interact with the Arduino. Whereas there are many ways to connect devices to an Atmega microcontroller and program them, there are a few very well documented ways to do this with many devices on an Arduino.
Another part of this is by offering an extensive API (Application Program Interface) for developers who want to use parts of the microcontroller. The API handles the small parts of interacting with the Atmega microcontroller so developers can concentrate on the problem that they want to solve.
Arduino microcontrollers also are at the heart of a number of projects that enthusiasts at all levels can take on. For instance, “Adafruit” offers a number of kits based on Arduinos for enthusiasts to assemble and program.
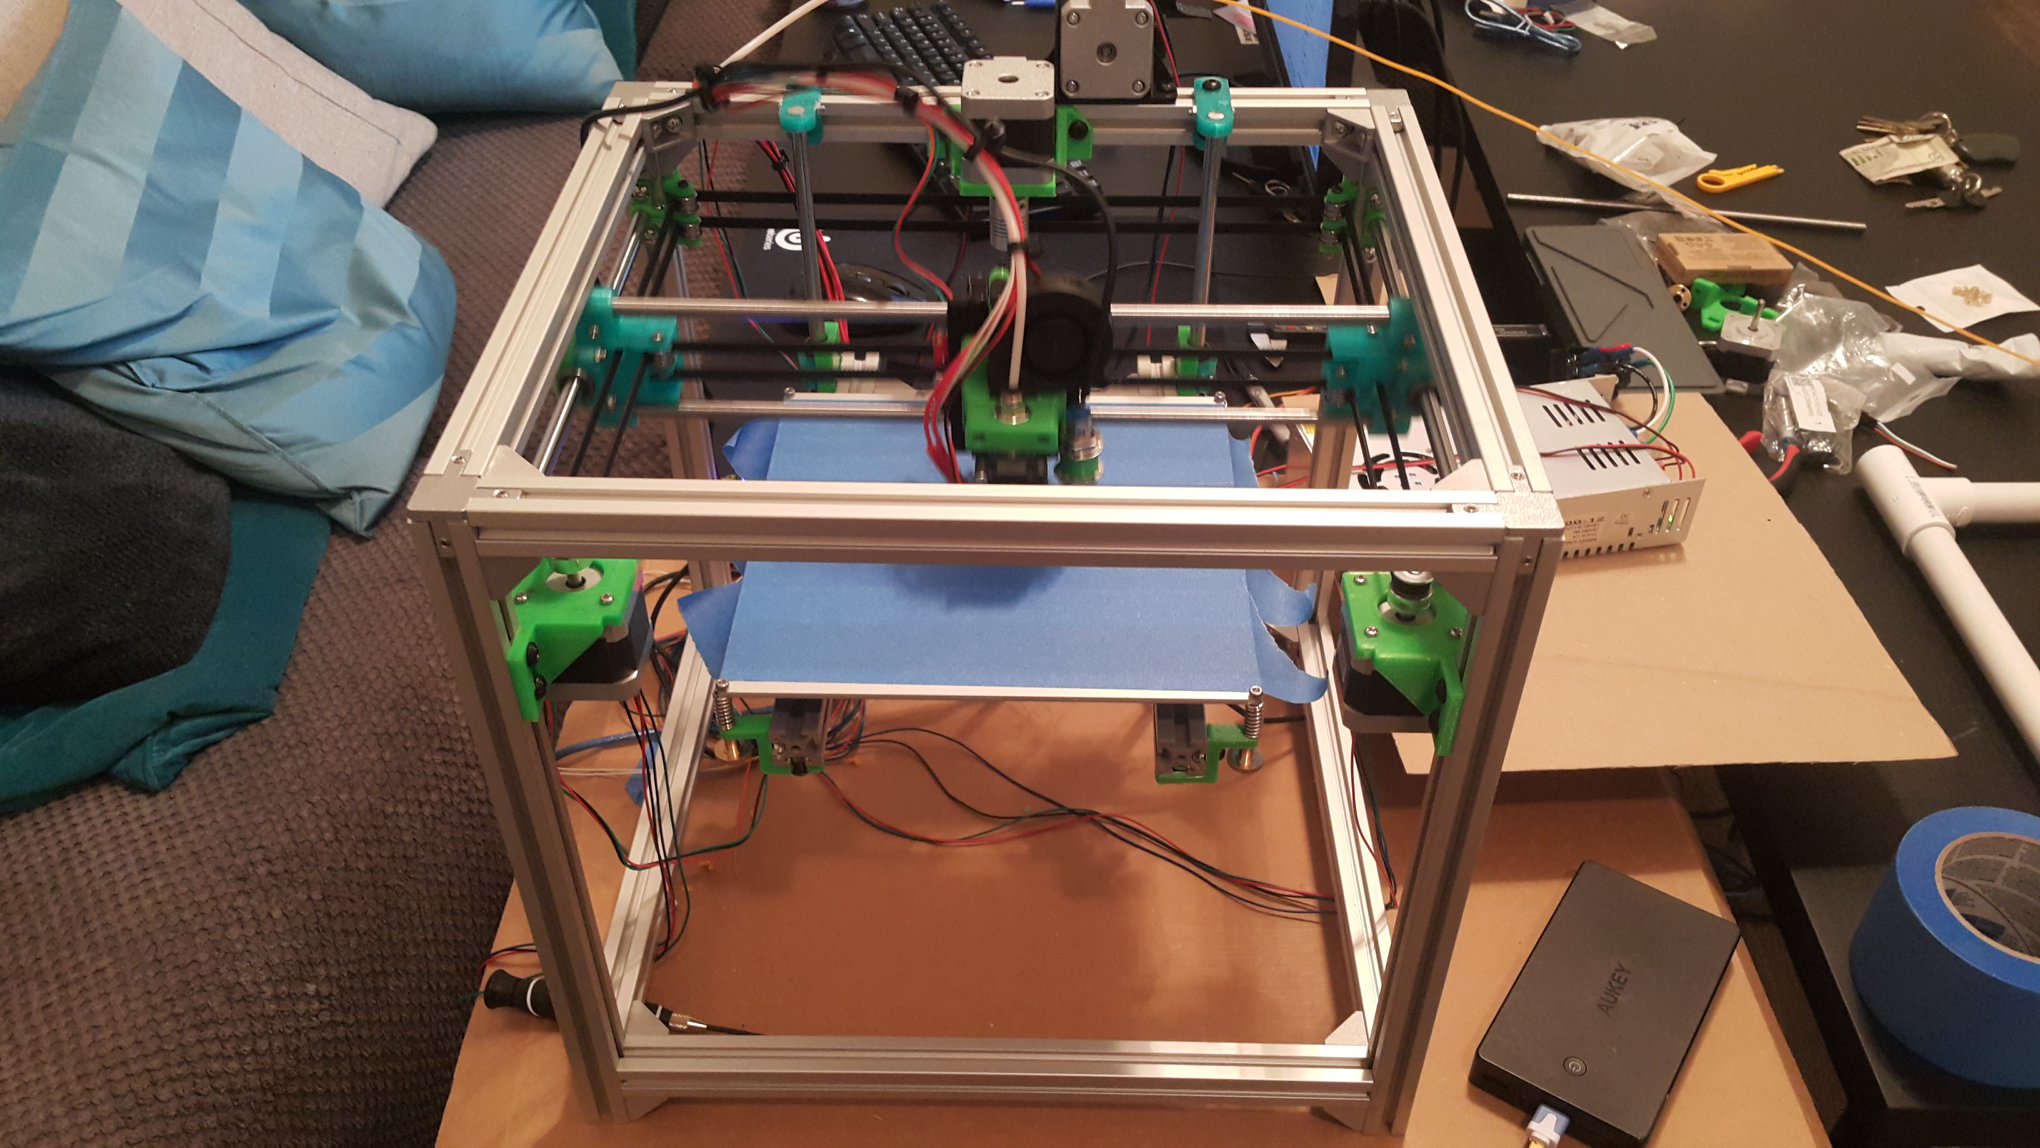
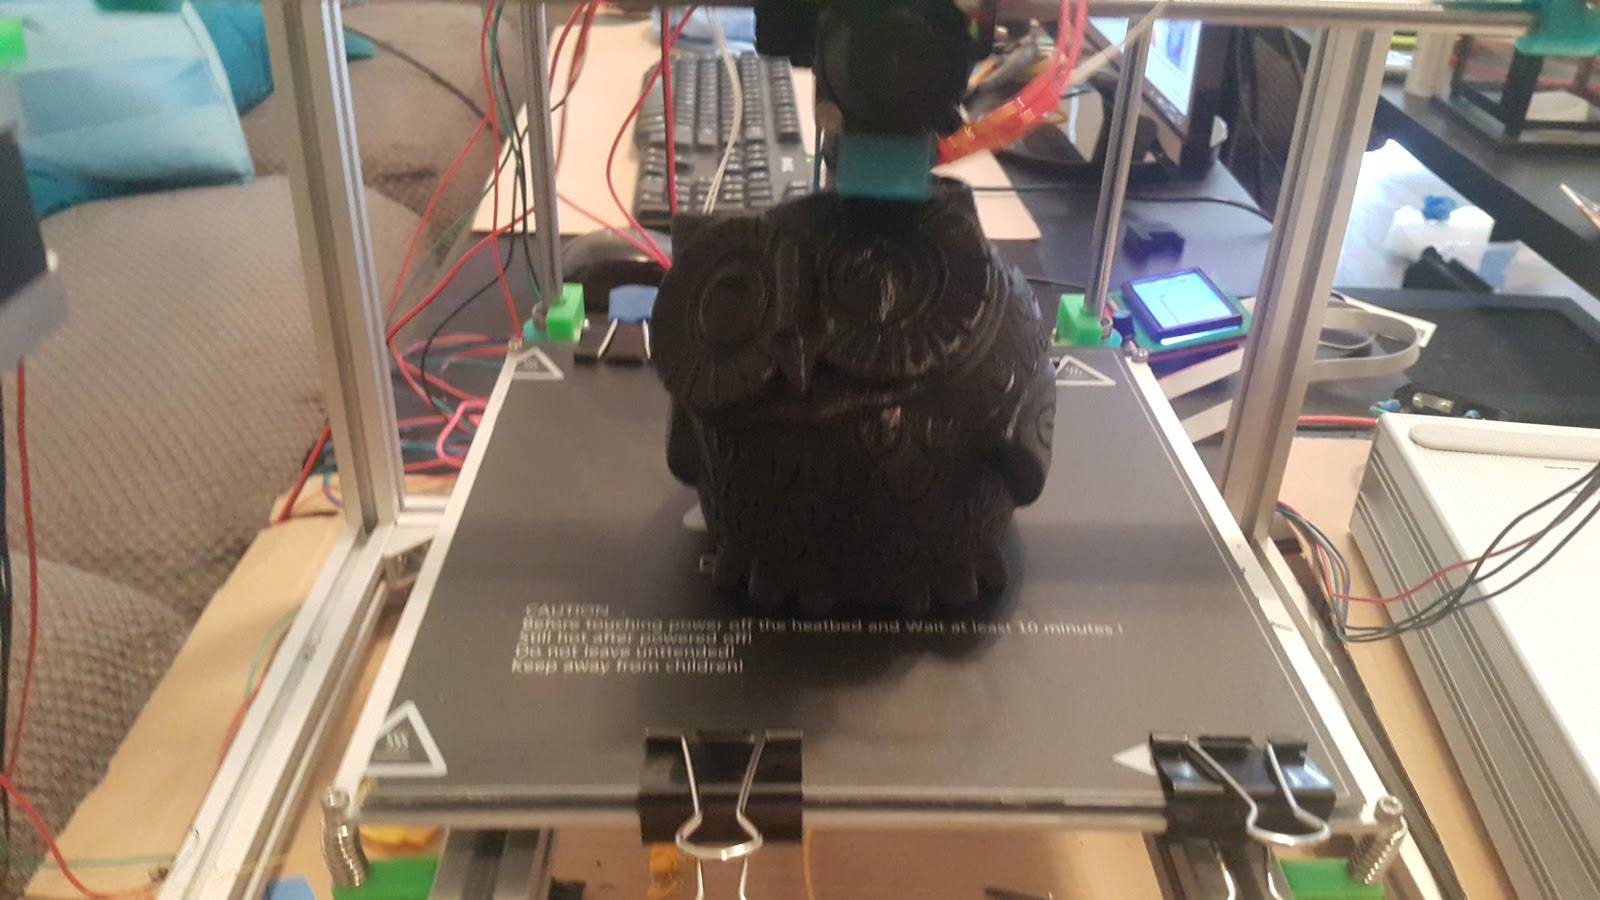
One of my (Justin’s) favorite projects for the Arduino microcontroller is building 3D printers. The RAMPS (RepRap Arduino Mega Pololu Shield) board is designed to attach to an Arduino in order to control a 3D printer.
Here are a couple of pictures of mine. Mine is a HyperCube CoreXY.


Set up the Arduino IDE
We need to get the library that drives the robot. A library is a collection of software that is distributed to write other software. For instance, video game designers often use graphics libraries that are already written in order to allow them to concentrate on writing the game, rather than the details that are the same from game-to-game. The Bot’n Roll robot comes with a software library, and to use it, we need to install it.
Open up the Arduino IDE.
arduino
Go to the Arduino IDE.
- Navigate to “Sketch -> Include Library -> Add .ZIP Library”.
- In the dialog, double-click “exercises/” to open the folder.
- Click BnrOneA.zip and hit OK.
Next, we’ll need to configure the IDE to connect to the robot.
- Plug the robot into the computer using the USB cable in your box.
- Navigate to “Tools -> Board” and select the “Arduino Uno” board.
- Navigate to “Tools -> Serial Port”, and select “ttyUSB#”. The # corresponds to which USB port you have the robot plugged into.
Loading Your First Program - Blinking an LED
exercises/ex01_LED
The first program we’re going to load is a simple program that blinks an LED on the robot. Here, you’ll learn how to navigate through the Arduino IDE so that you can build and upload your own programs.
- In the Arduino IDE, navigate to “File-> Open”, which will give you a file open dialog. In your home directory, you will now have a directory called “exercises.” Under “exercises/ex01_LED” you will find “ex01_LED.ino”. Open this file.
Now, let’s go ahead and upload this code to the robot. To do so, you’ll need to understand the menu bar at the top of the IDE. It should look just like this:

The names of the buttons are as follows: Verify, Upload, New, Open, and Save. Let’s go through what each of these does.
-
The first button is the verify button. This is used to compile your code and check for errors.
-
The next button is the upload button. Once you’ve verified that your code works, selecting this button will upload the code to the robot.
-
The next button is the new button. You’ll use this to create new programs.
-
The next button is the open button. You can use this to open up any scratch files that are located on your computer.
-
The final button is the save button. Use this to save any programs you’ve written.
Now that you understand how to upload code to the robot, go ahead and upload the LED code.
- If after hitting the verify button, the Arduino IDE doesn't tay "Done Compiling" near the bottom, and "Binary sketch size: X" then something is wrong. Flip your red cup to get some help if this is the case.
- If after hitting the upload button, the Arduino IDE doesn't say "Done Uploading" near the bottom, and "Binary sketch size: X" then something is wrong. Flip your red cup to get some help if this is the case.
- Whenever you disconnect the robot from your computer you will need to re-connect to the robot to upload code!
-
Once you have uploaded the LED code one of the LEDs on your robot should blink.
-
Unplug your robot and flip your power switch to on, your LED should still blink. It not, use your red cup so we can help you to debug this.
-
Now plug your robot back in and test the serial monitor.
-
In the Arduino IDE go to Tools->Serial Monitor
A screen should pop up. The top should say /dev/ttyUSB#.
Text should be scrolling down it saying “LED ON” “LED OFF.” If it is not, get camp staff to help you.
Next, let’s fire up the LCD screen on the front and tune it.
Turning on the LCD, and tuning it
exercises/ex02_LCD
-
Turn off your robot. The LED should stop blinking.
-
Now load exercises/ex02_LCD/ex02_LCD.ino in the same way that you loaded the LED exercise.
Once loaded, unplug your robot from the computer. You may notice that you can’t read your LCD screen. We can assume by now that you know how the compiler works, so the problem must be the tuning of the LCD screen.
- Look on the left-hand side of your robot next to the screen and see two dials. Use your screwdriver to adjust the brightness and contrast settings on your LCD until you are happy with the display.
It should say:
LCD Test OK !!
www.botnroll.com
Moving the Robot
exercises/ex03_Basic_Motion
Let’s go ahead and get the robot moving!
- Load exercises/ex03_Basic_Motion/ex03_Basic_Motion.ino, and compile and load it onto the robot.
We’re going to use this exercise to verify that your robot operates properly. A camp staff member will bring you to an open space to drive your robot into. When you’re ready to begin, flip your cup. Feel free to run your robot at your desk while you wait, but try not to create chaos in doing so.
If everything worked properly, then your robot should have driven up to the wall and stopped.
If it didn’t, then camp staff should help you to repair your robot so you are ready to move on in the tutorials.
Next Step
Proceed to “Introduction to C++ Programming”